Kubernetes
This guide shows how to run a single Kubernetes cluster across nodes that do not share a private network, by connecting them over a Netsody mesh. The result is a highly distributed cluster whose nodes reach each other through Netsody even when they sit in different clouds, regions, or behind NAT and firewalls.
Netsody gives each node a stable overlay IP address and a direct encrypted path to every other node, so the Kubernetes control plane and pods can communicate. Kubernetes runs on top with a routed pod network, so pod traffic is not encapsulated a second time. The examples use k3s, a lightweight Kubernetes distribution.
How it works
- Every node runs the Netsody agent and joins the same network, which gives it an overlay IP address reachable from all other nodes.
- Kubernetes binds to the Netsody interface and uses a routed pod network backend, so a pod packet keeps its destination IP and is routed over the mesh directly.
- Each node's pod subnet is published as a resource with that node as the gateway, and a policy allows the nodes to reach it. This makes pods on one node reachable from another.
Before you start
- Create a Netsody network for the cluster in the controller at my.netsody.io. See Get Started.
- Add every node to that network. Use Join Keys for headless nodes.
- Keep the overlay CIDR, the cluster pod CIDR, and the service CIDR non-overlapping.
In this guide we assume the following values, which you should replace with your own:
- Netsody overlay subnet
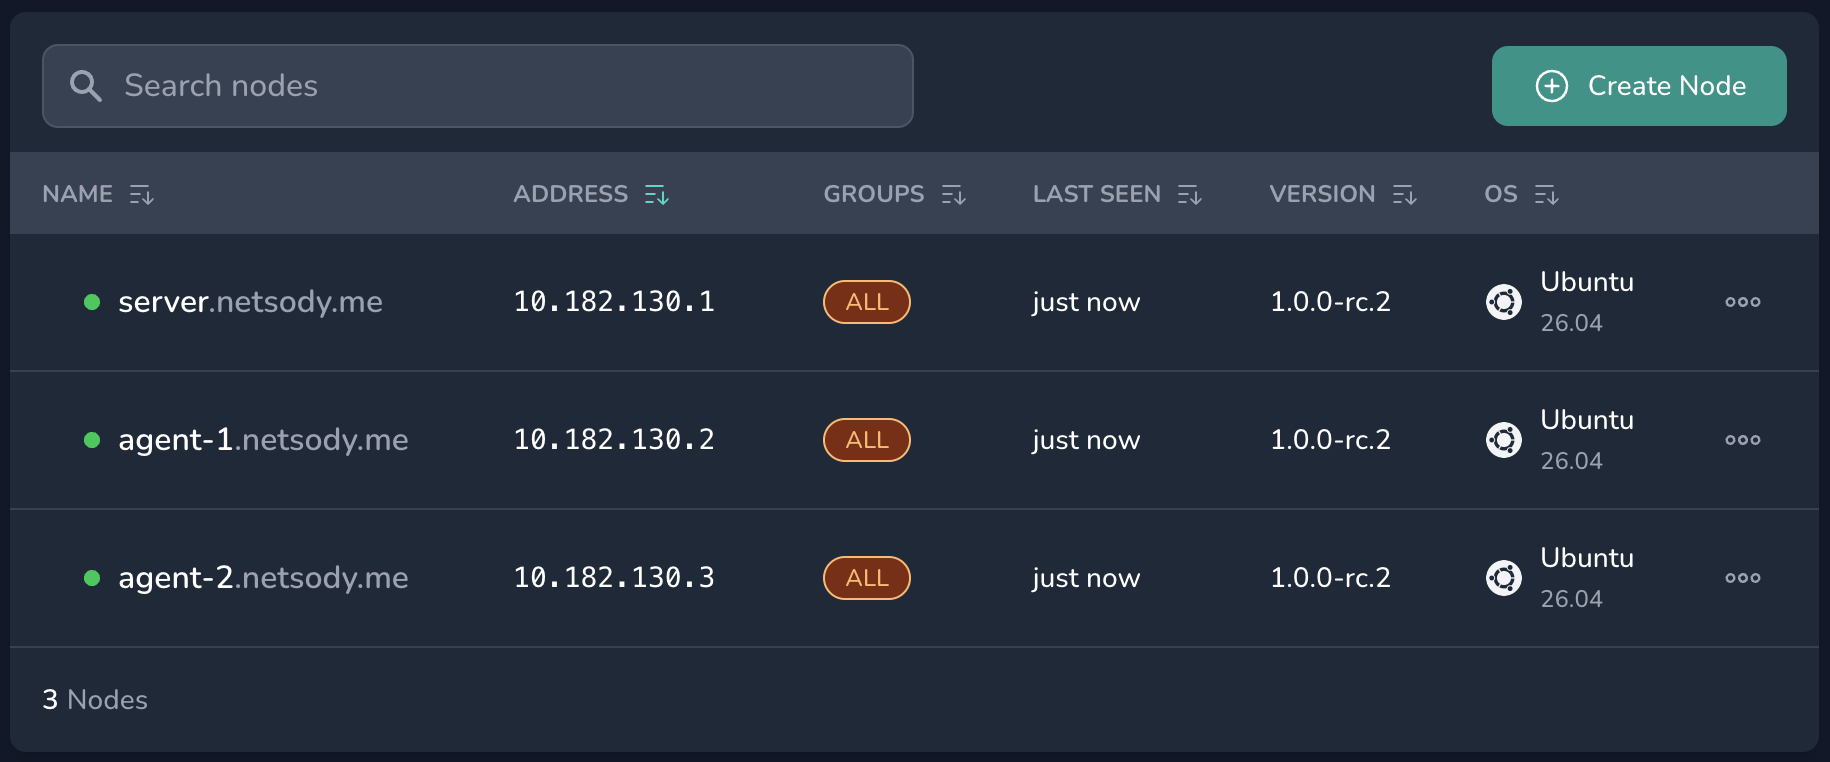
10.182.130.0/24. - k3s server
serverat10.182.130.1. - k3s agent
agent-1at10.182.130.2. - k3s agent
agent-2at10.182.130.3. - Cluster pod CIDR
10.42.0.0/16. - Service CIDR
10.43.0.0/16.
You can find each node's overlay IP address in the Nodes area of your network.
Step 1: Install Kubernetes on the overlay
Install Kubernetes with a routed pod network bound to the Netsody interface. This example uses the host-gw backend, which installs plain kernel routes and adds no encapsulation.
Install the k3s server:
# server
curl -sfL https://get.k3s.io | INSTALL_K3S_EXEC="server \
  --flannel-backend=host-gw \
  --flannel-iface=netsody \
  --node-ip=10.182.130.1 \
  --advertise-address=10.182.130.1 \
  --tls-san=10.182.130.1 \
  --cluster-cidr=10.42.0.0/16" sh -s -
Install each k3s agent, pointing it at the server over the overlay and using that agent's own overlay IP for --node-ip:
# agent-1
curl -sfL https://get.k3s.io | K3S_URL=https://10.182.130.1:6443 \
  K3S_TOKEN=<server-node-token> INSTALL_K3S_EXEC="agent \
  --flannel-iface=netsody \
  --node-ip=10.182.130.2" sh -s -
# agent-2
curl -sfL https://get.k3s.io | K3S_URL=https://10.182.130.1:6443 \
  K3S_TOKEN=<server-node-token> INSTALL_K3S_EXEC="agent \
  --flannel-iface=netsody \
  --node-ip=10.182.130.3" sh -s -
When the nodes report Ready, read the pod subnet assigned to each:
# server
kubectl get nodes -o custom-columns=NAME:.metadata.name,POD:.spec.podCIDR
This prints the pod subnet for each node:
NAME      POD
agent-1   10.42.1.0/24
agent-2   10.42.2.0/24
server    10.42.0.0/24
Step 2: Publish each node's pod subnet
At this point you have a three-node cluster, one k3s server and two k3s agents, that reach each other over the Netsody mesh. The nodes can talk, but pods on one node cannot yet reach pods on another. In this step you make each node's pod subnet reachable from the other nodes.
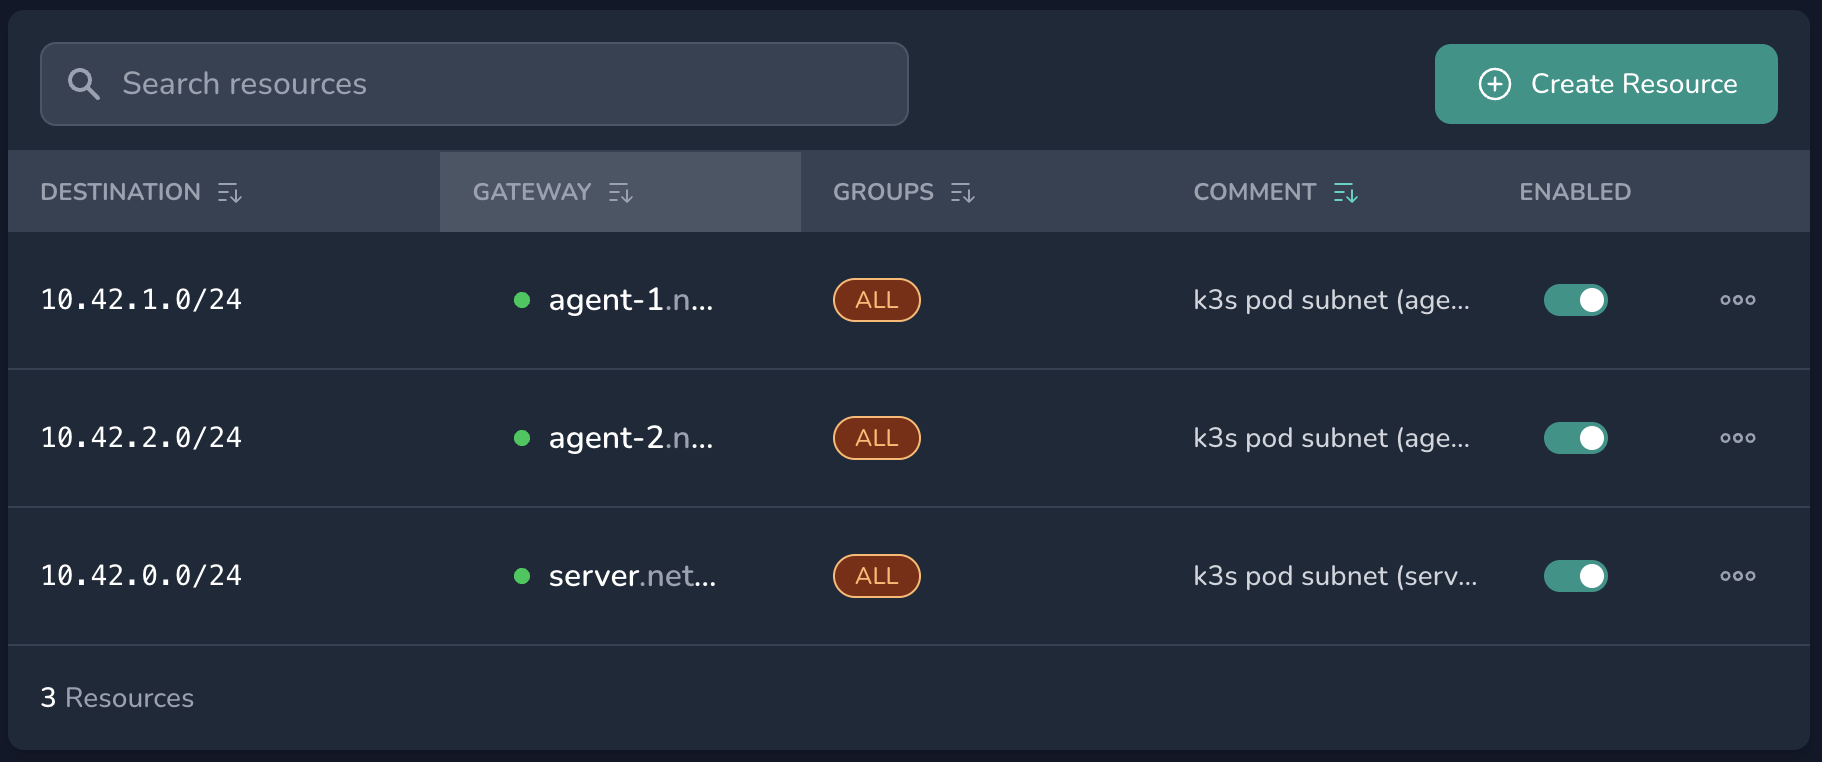
In the Netsody controller, open your network and go to Resources. Add one resource per node with these fields:
- Destination: the pod subnet that Kubernetes assigned to the node, that is
10.42.0.0/24forserver,10.42.1.0/24foragent-1, and10.42.2.0/24foragent-2. - Gateway: that same node, so it forwards the traffic to its local pods.
- Groups:
ALL, which distributes the route to every node and makes the resource usable as a policy destination.
A resource grants no access on its own. Go to Policies and make sure a policy allows your nodes to reach these resources. A new network already has a default policy from ALL to ALL, which covers them.
Step 3: Allow pod-originated traffic
Netsody only forwards traffic whose source is the node's own overlay IP address, which prevents IP spoofing (see Netsody Agent). A pod sends from its own pod IP, so on each node you must masquerade pod traffic to the node's overlay IP:
# server, agent-1, agent-2
iptables -t nat -I POSTROUTING 1 -s 10.42.0.0/16 -o netsody -j MASQUERADE
This affects only pod-initiated connections. The pod source IP is not preserved across nodes, so a cross-node NetworkPolicy matching by source pod does not work.
This rule is not persistent. Save it so it is restored on the next boot:
# server, agent-1, agent-2
apt install iptables-persistent
iptables-save > /etc/iptables/rules.v4
Step 4: Verify
Run a pod on agent-1 and another on agent-2, then ping one from the other by its pod IP address:
# server
kubectl run hello-1 --image=busybox --overrides='{"spec":{"nodeName":"agent-1"}}' --command -- sleep infinity
kubectl run hello-2 --image=busybox --overrides='{"spec":{"nodeName":"agent-2"}}' --command -- sleep infinity
kubectl wait --for=condition=Ready pod/hello-1 pod/hello-2 --timeout=120s
kubectl exec hello-1 -- ping -c3 $(kubectl get pod hello-2 -o jsonpath='{.status.podIP}')
A reply confirms that pods on different nodes reach each other over the Netsody mesh.
Summary
You now have a single Kubernetes cluster running across nodes that do not share a private network. Netsody connects them in an encrypted mesh, so the nodes reach each other through their overlay IP addresses and pods communicate across nodes directly, with Netsody as the only tunnel. To grow the cluster, add a node to the network, join it as an agent, and publish its pod subnet as a resource.