Get Started
Sign in to the Netsody controller at my.netsody.io.
If you do not have a Netsody account yet, contact us.
After signing in, the controller guides you through setting up your first network.
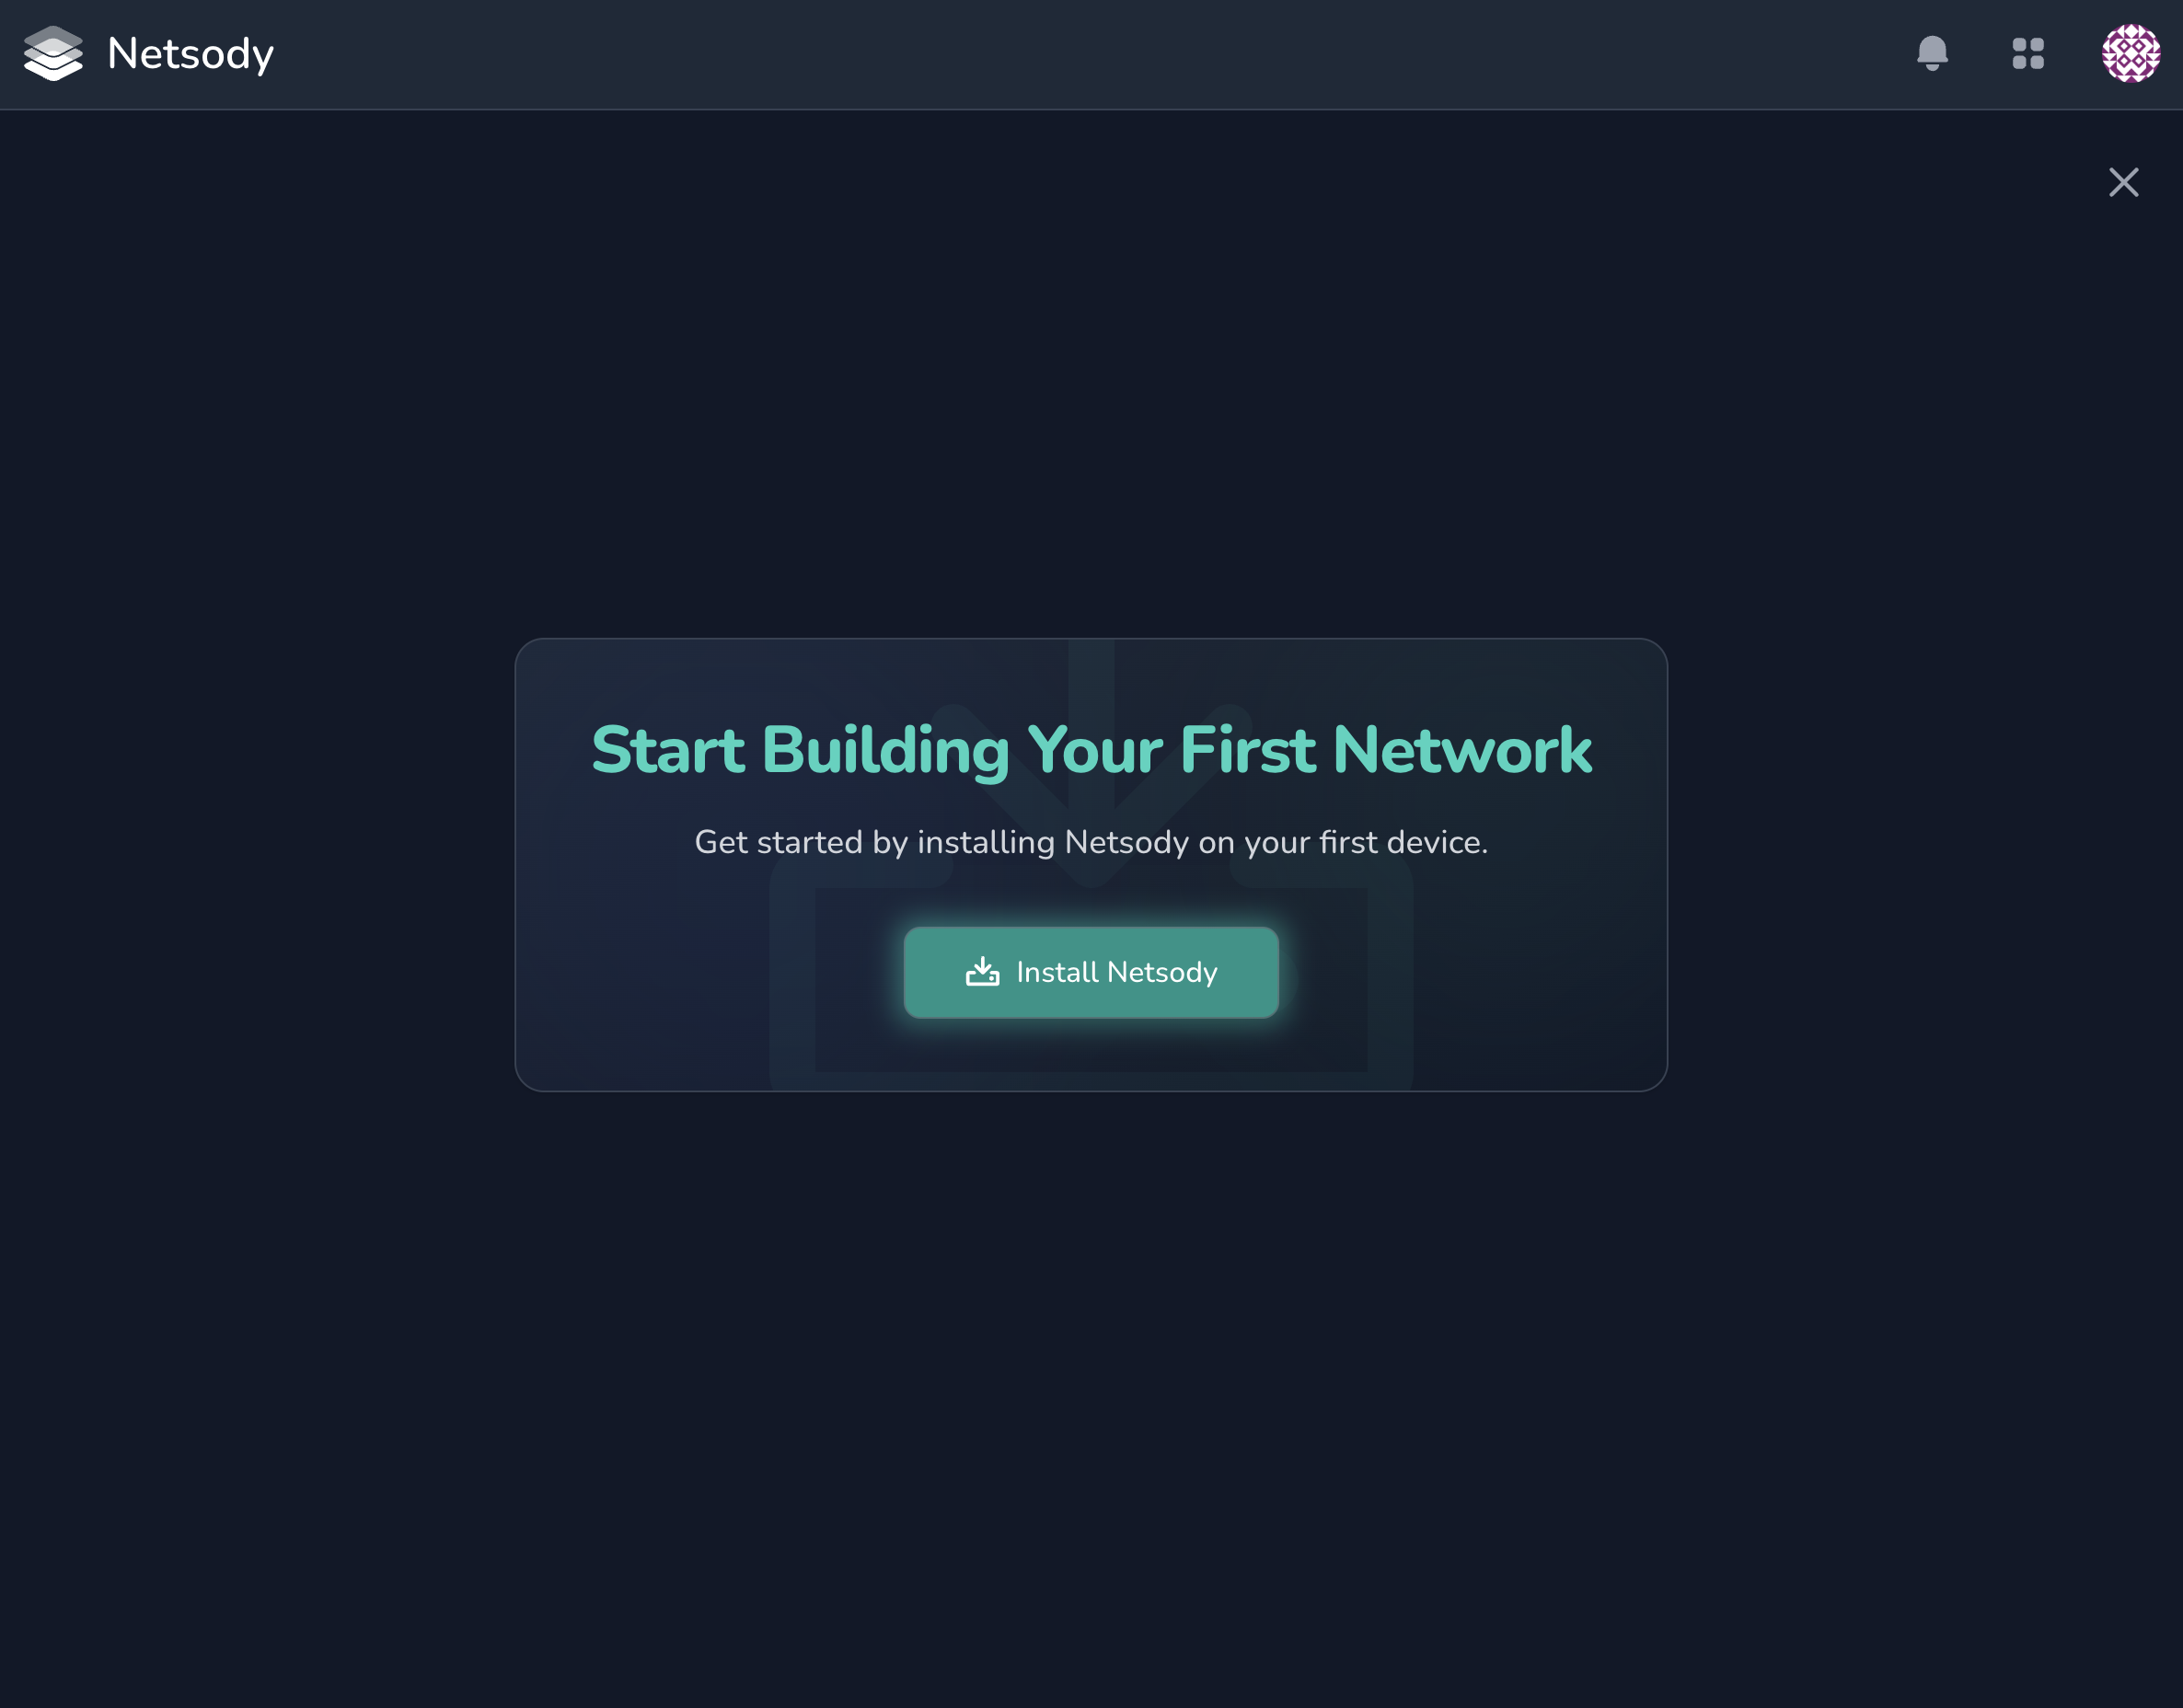
Step 1: Install Netsody
Use the installation step in the controller to install Netsody on the first device you want to connect. The controller shows the setup instructions for the selected platform.
Step 2: Pair the device with your account
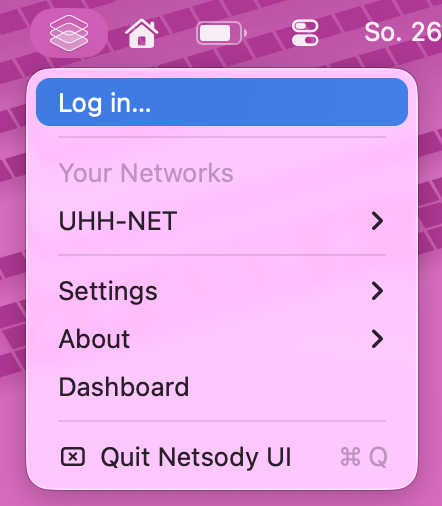
After installation, sign in on the device with your Netsody account. This pairs the device with your account.
In the Netsody UI, use the Log in... action.
On systems without the UI, use the CLI:
netsody login
Step 3: Add the device to your network
After pairing, the controller offers to add the new device to your network. Complete the device setup by clicking Add Device to Network.
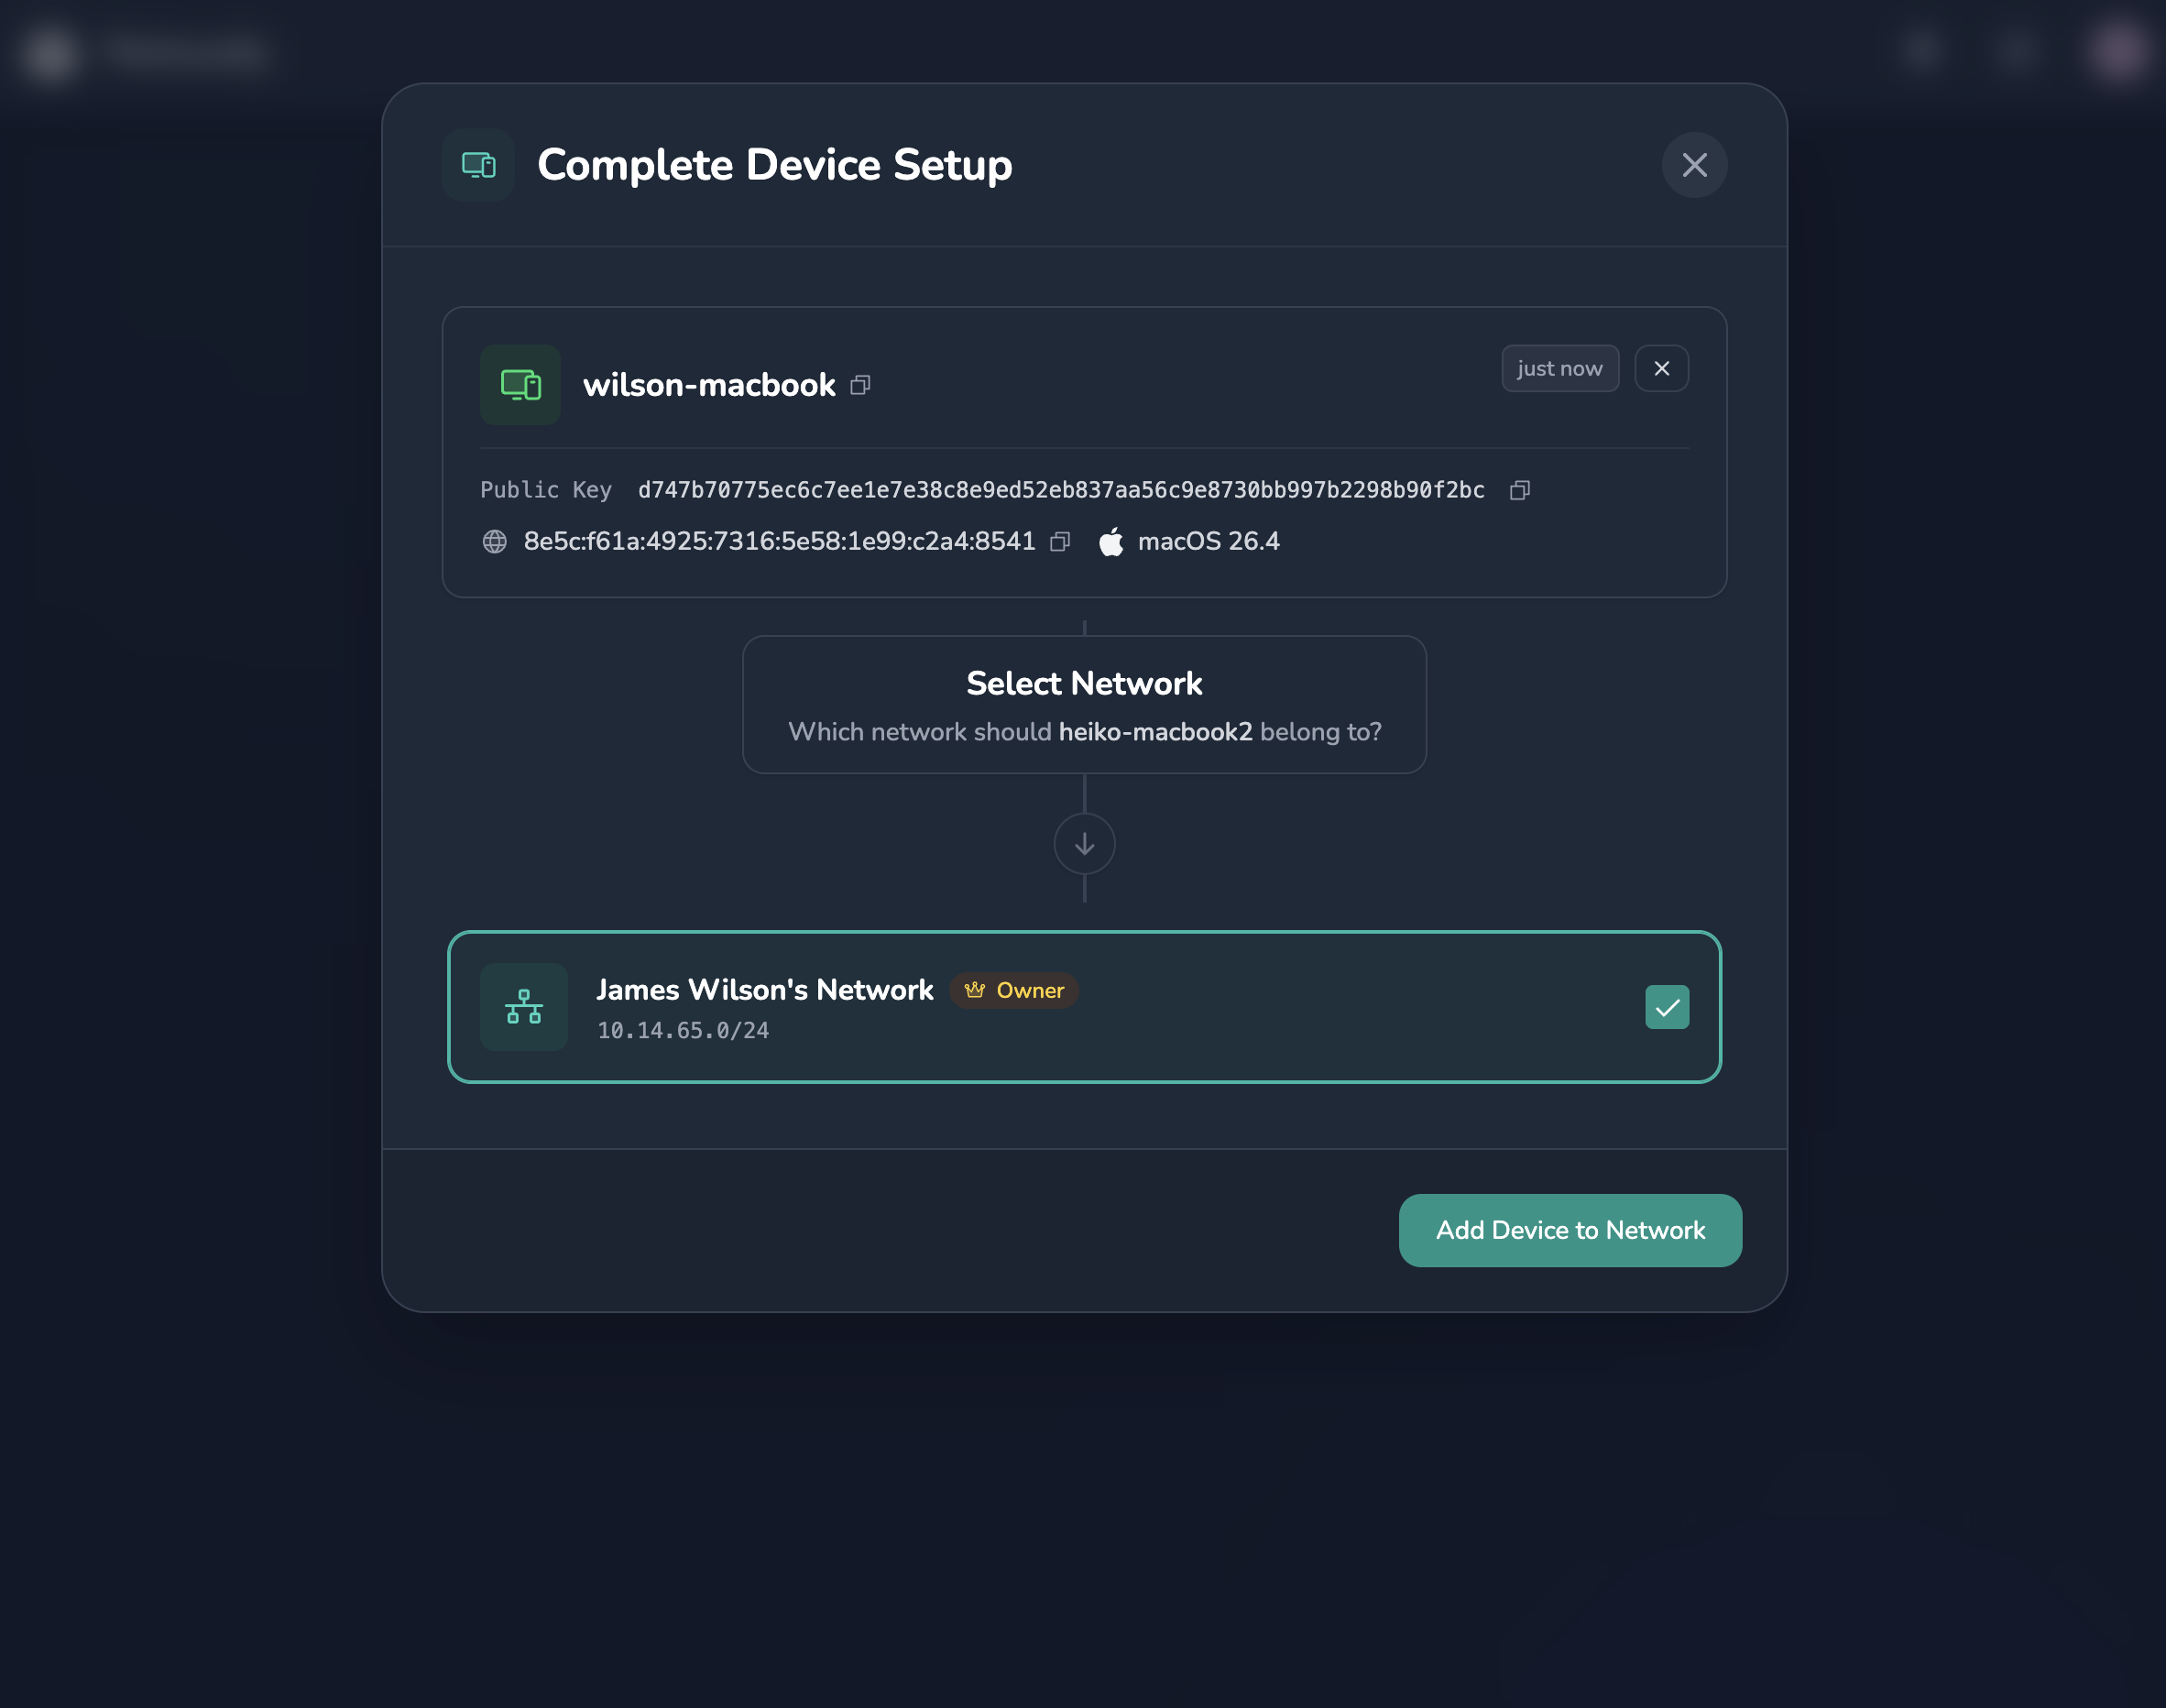
Your first Netsody network now exists and contains your first device.
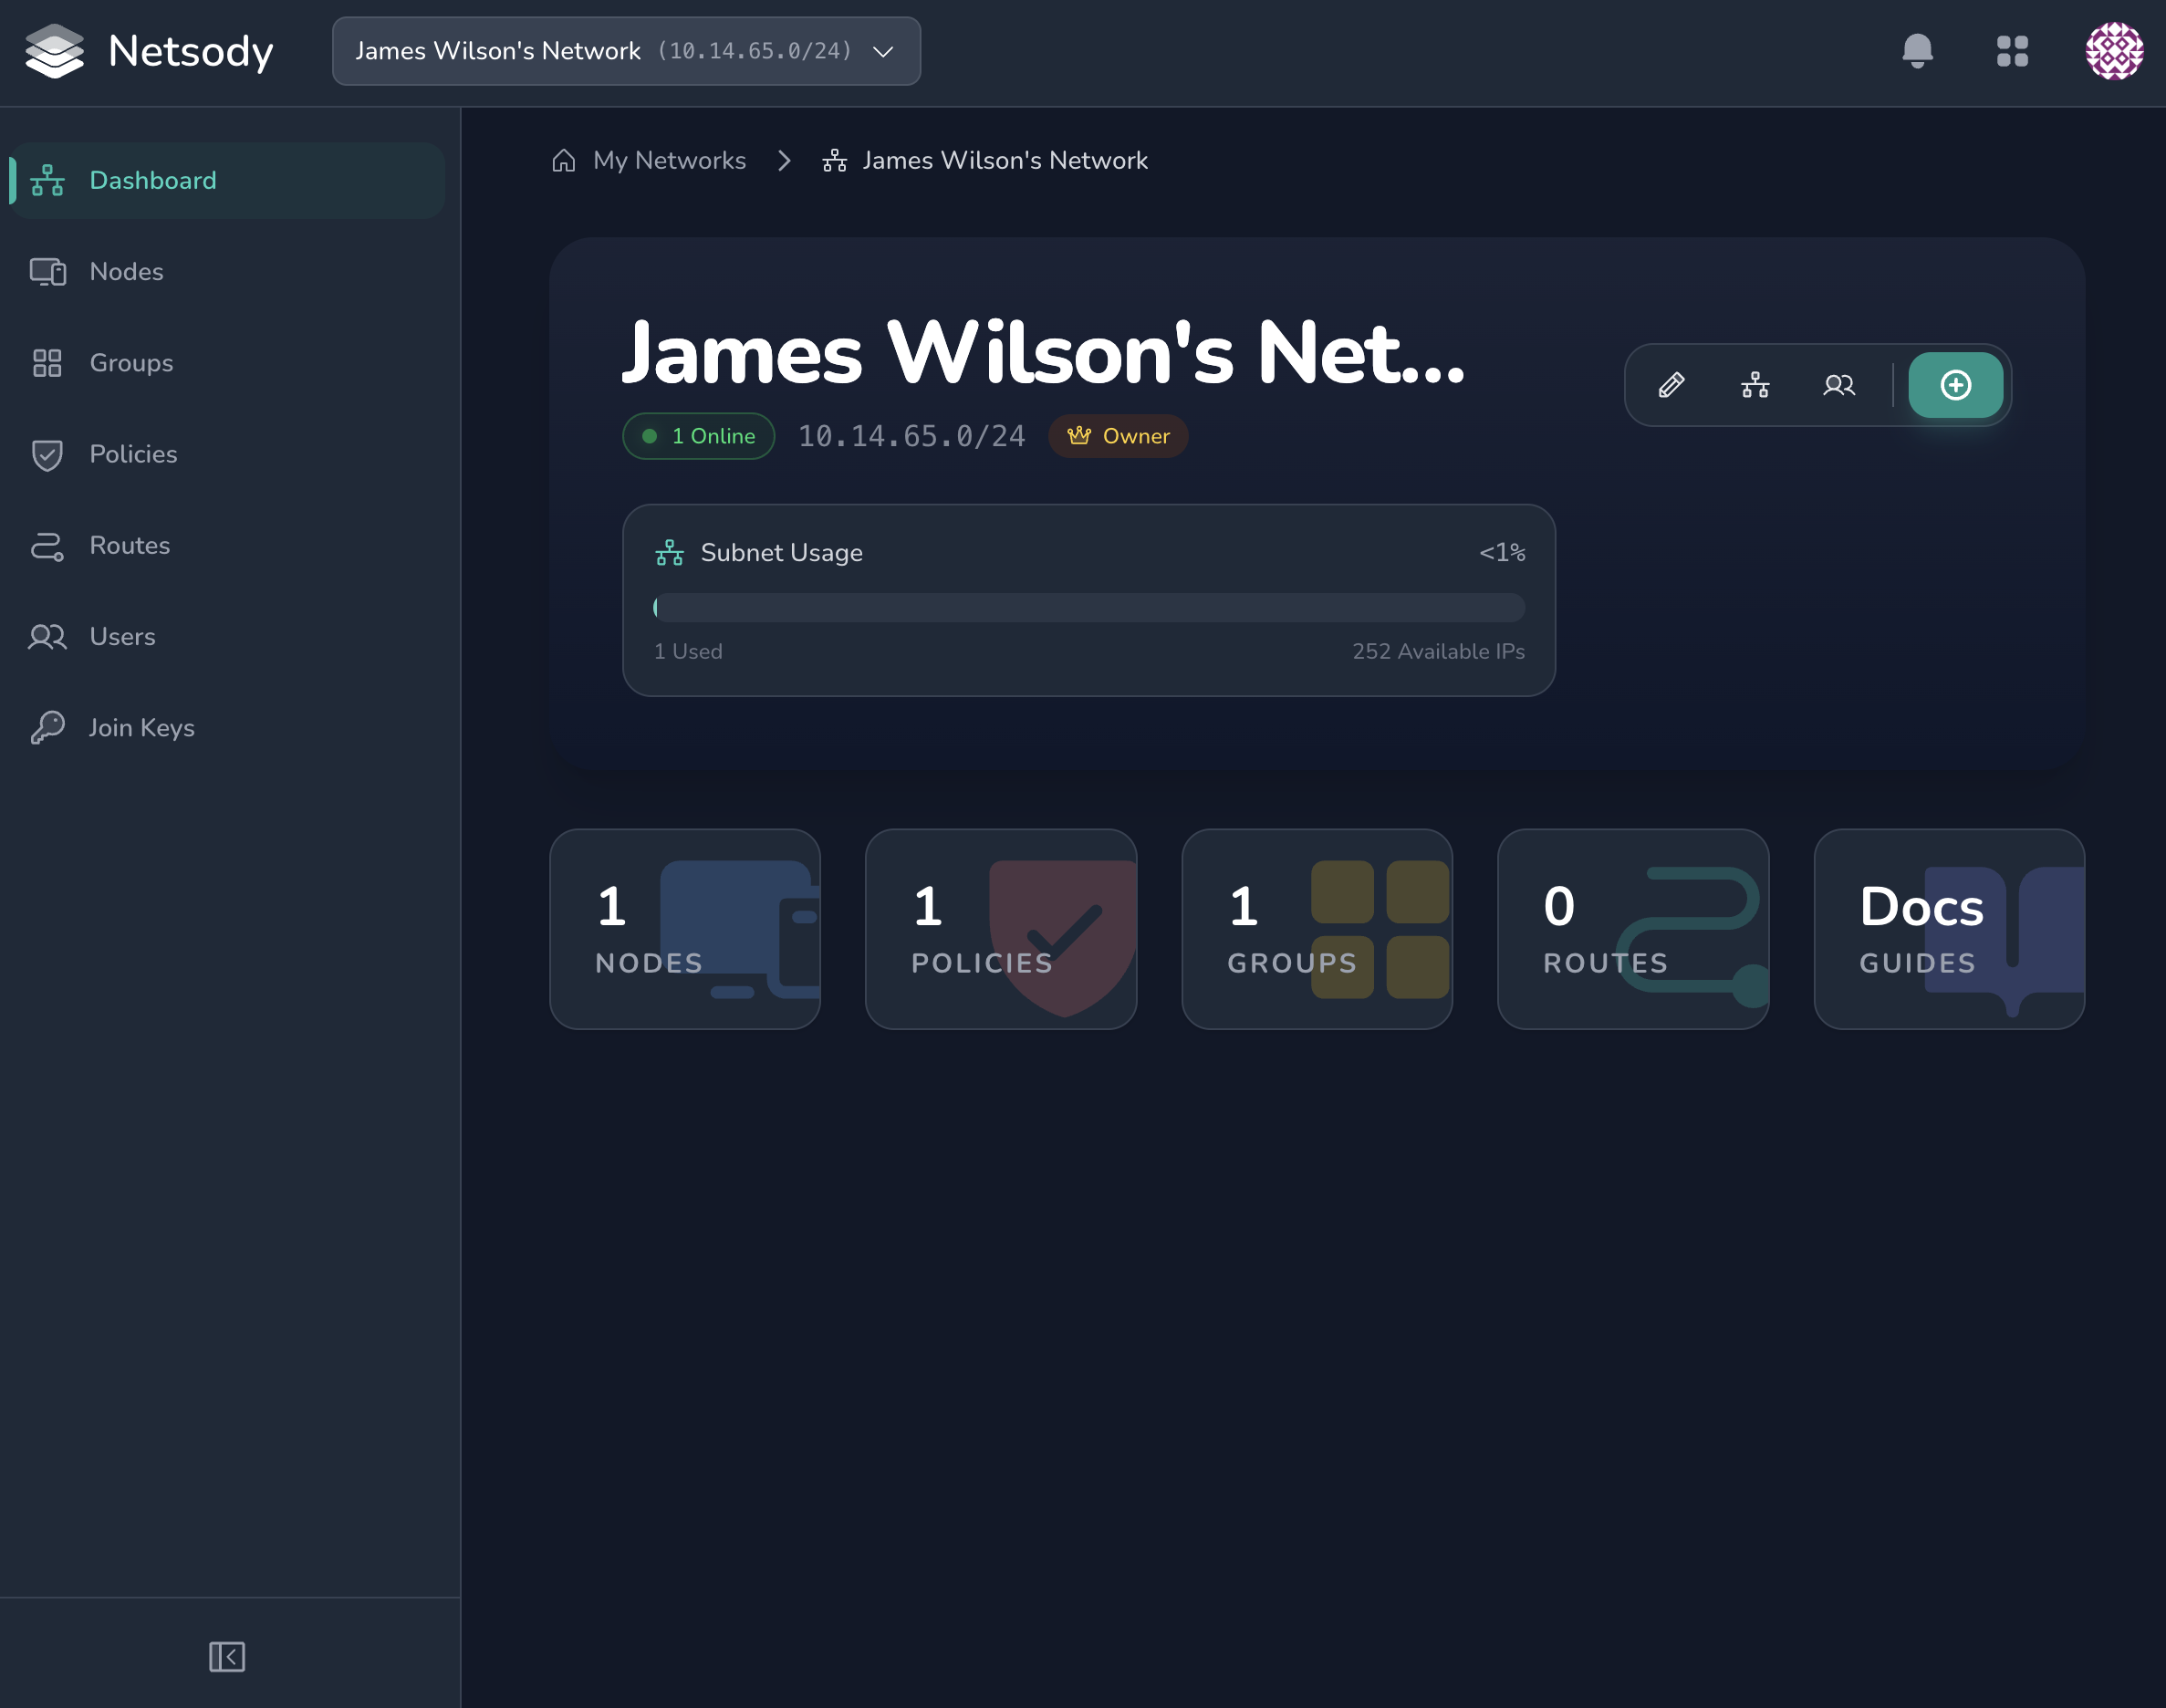
Step 4: Add more devices
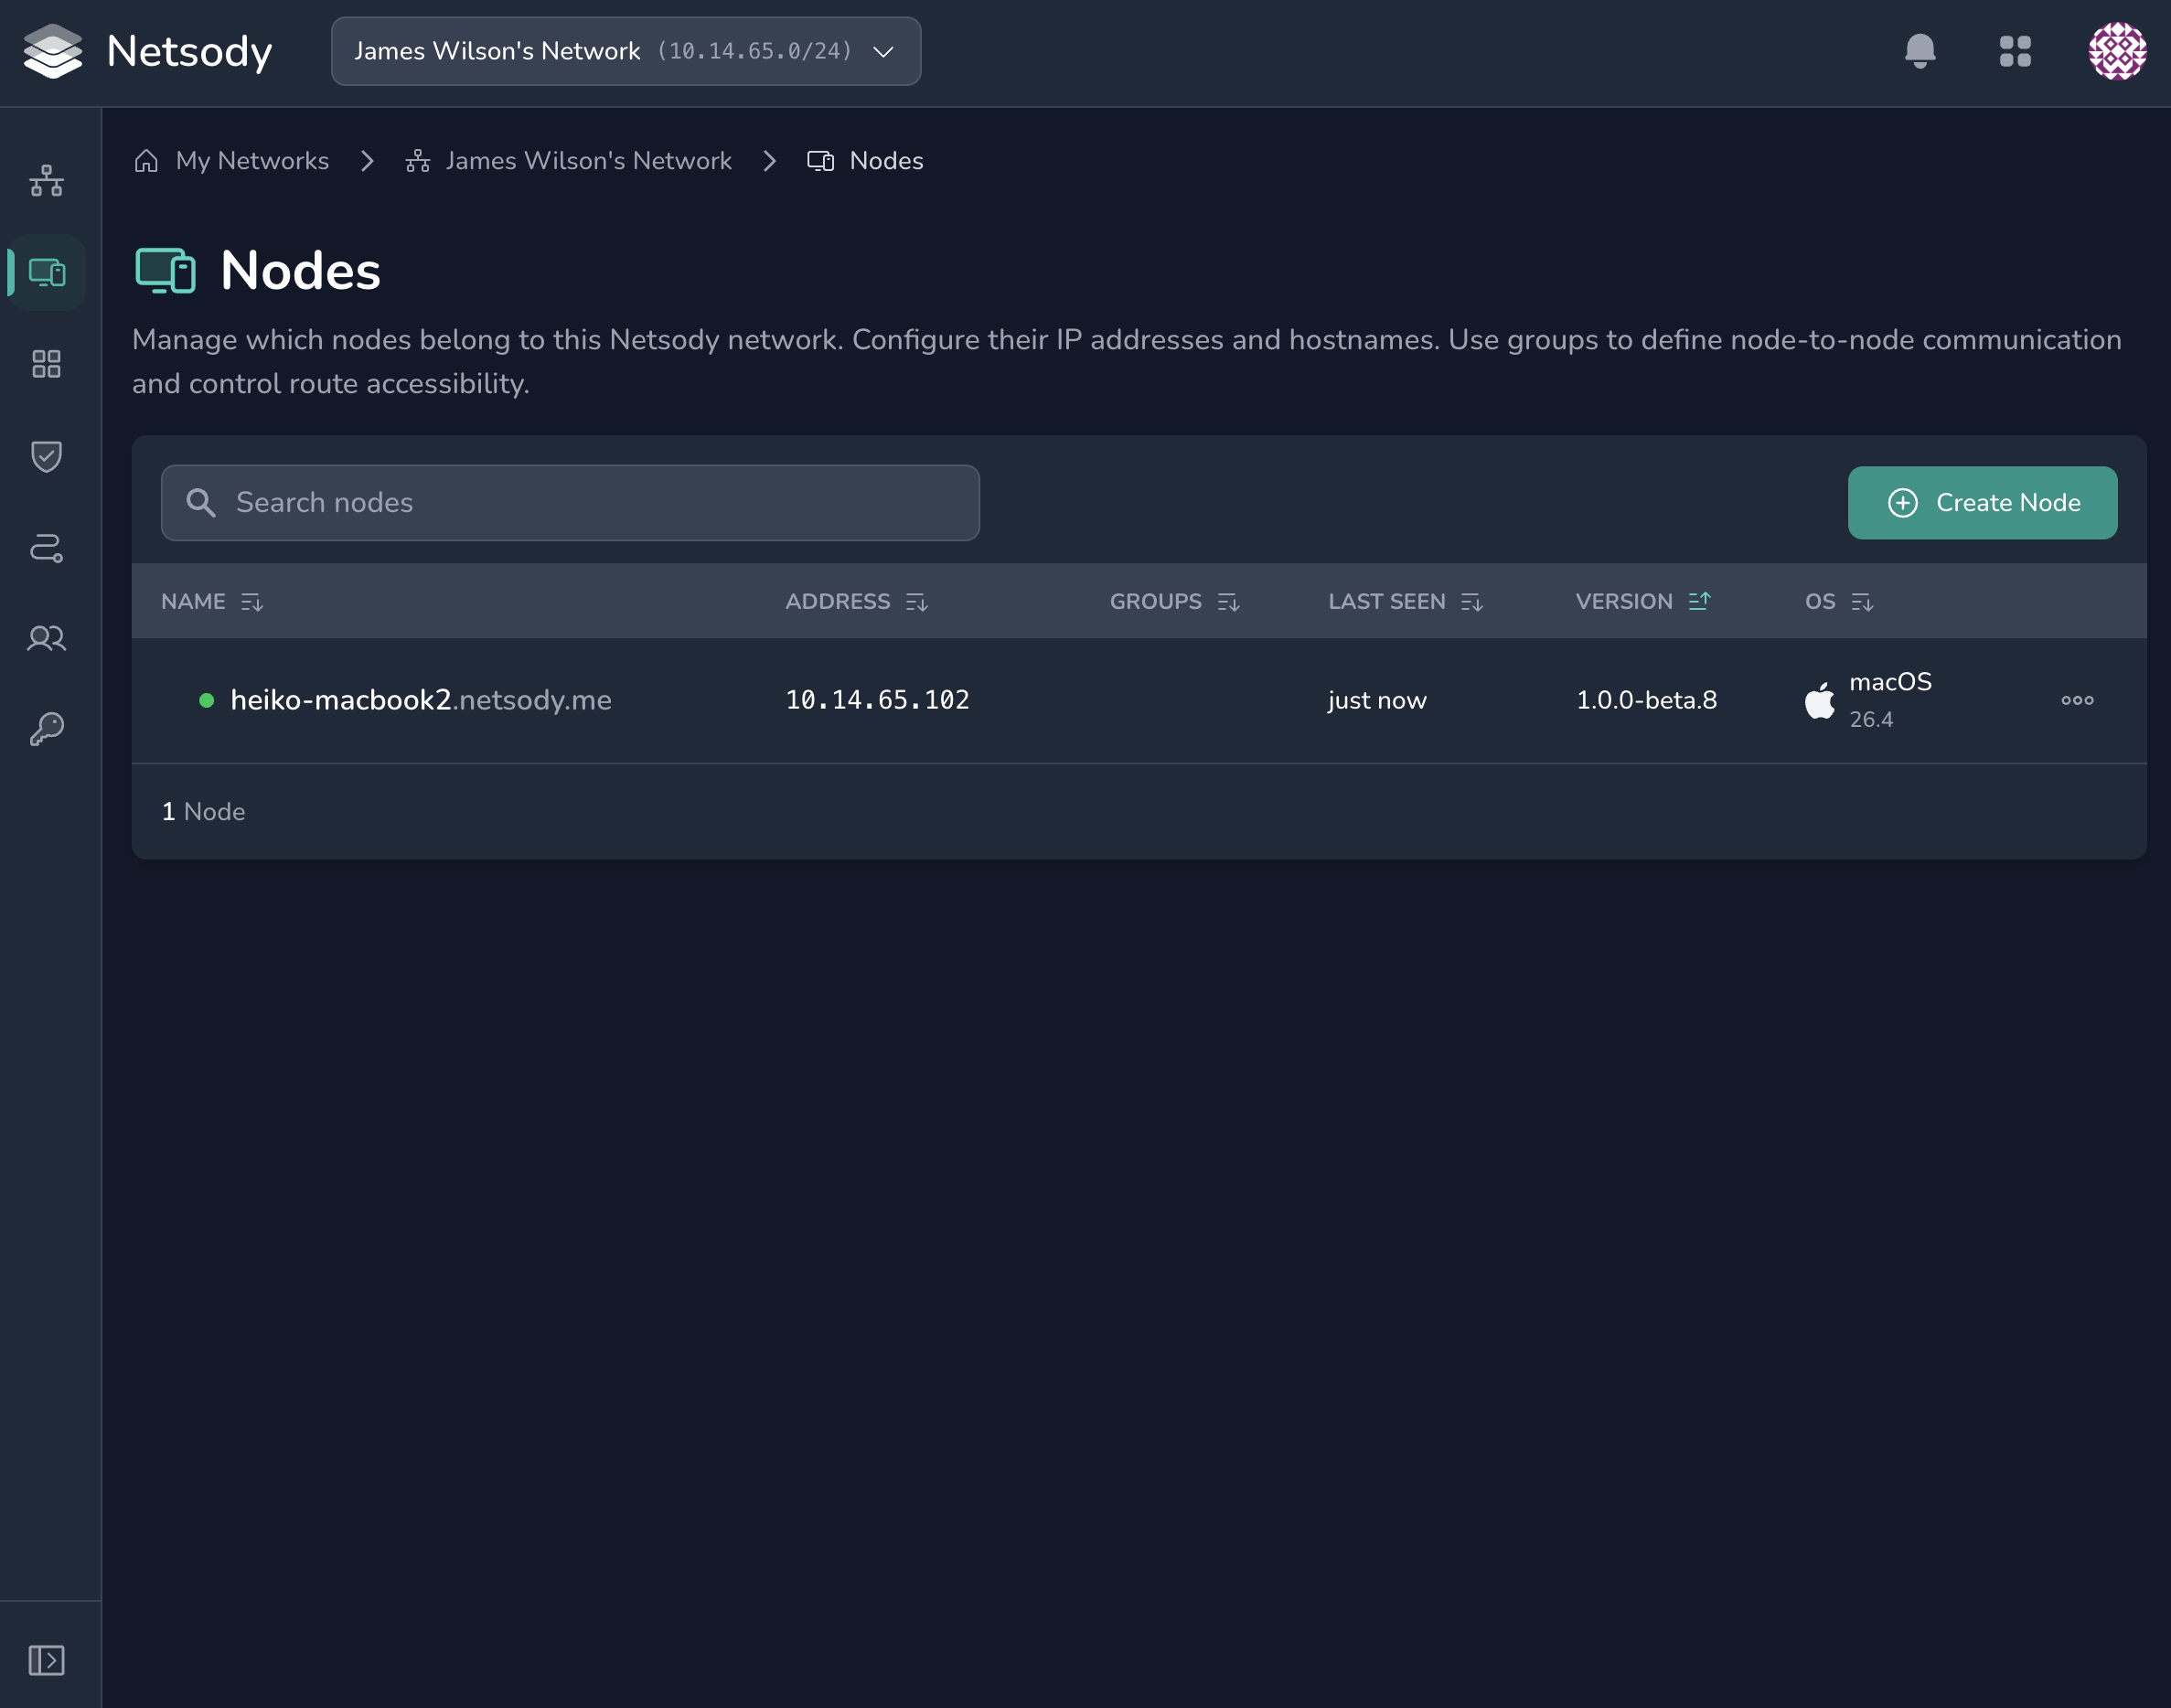
To add another device, open the Nodes area of your network and select Create Node.
In the create dialog, select Setup new device. Choose the platform for the additional device, install Netsody there, and sign in with your Netsody account as described above.
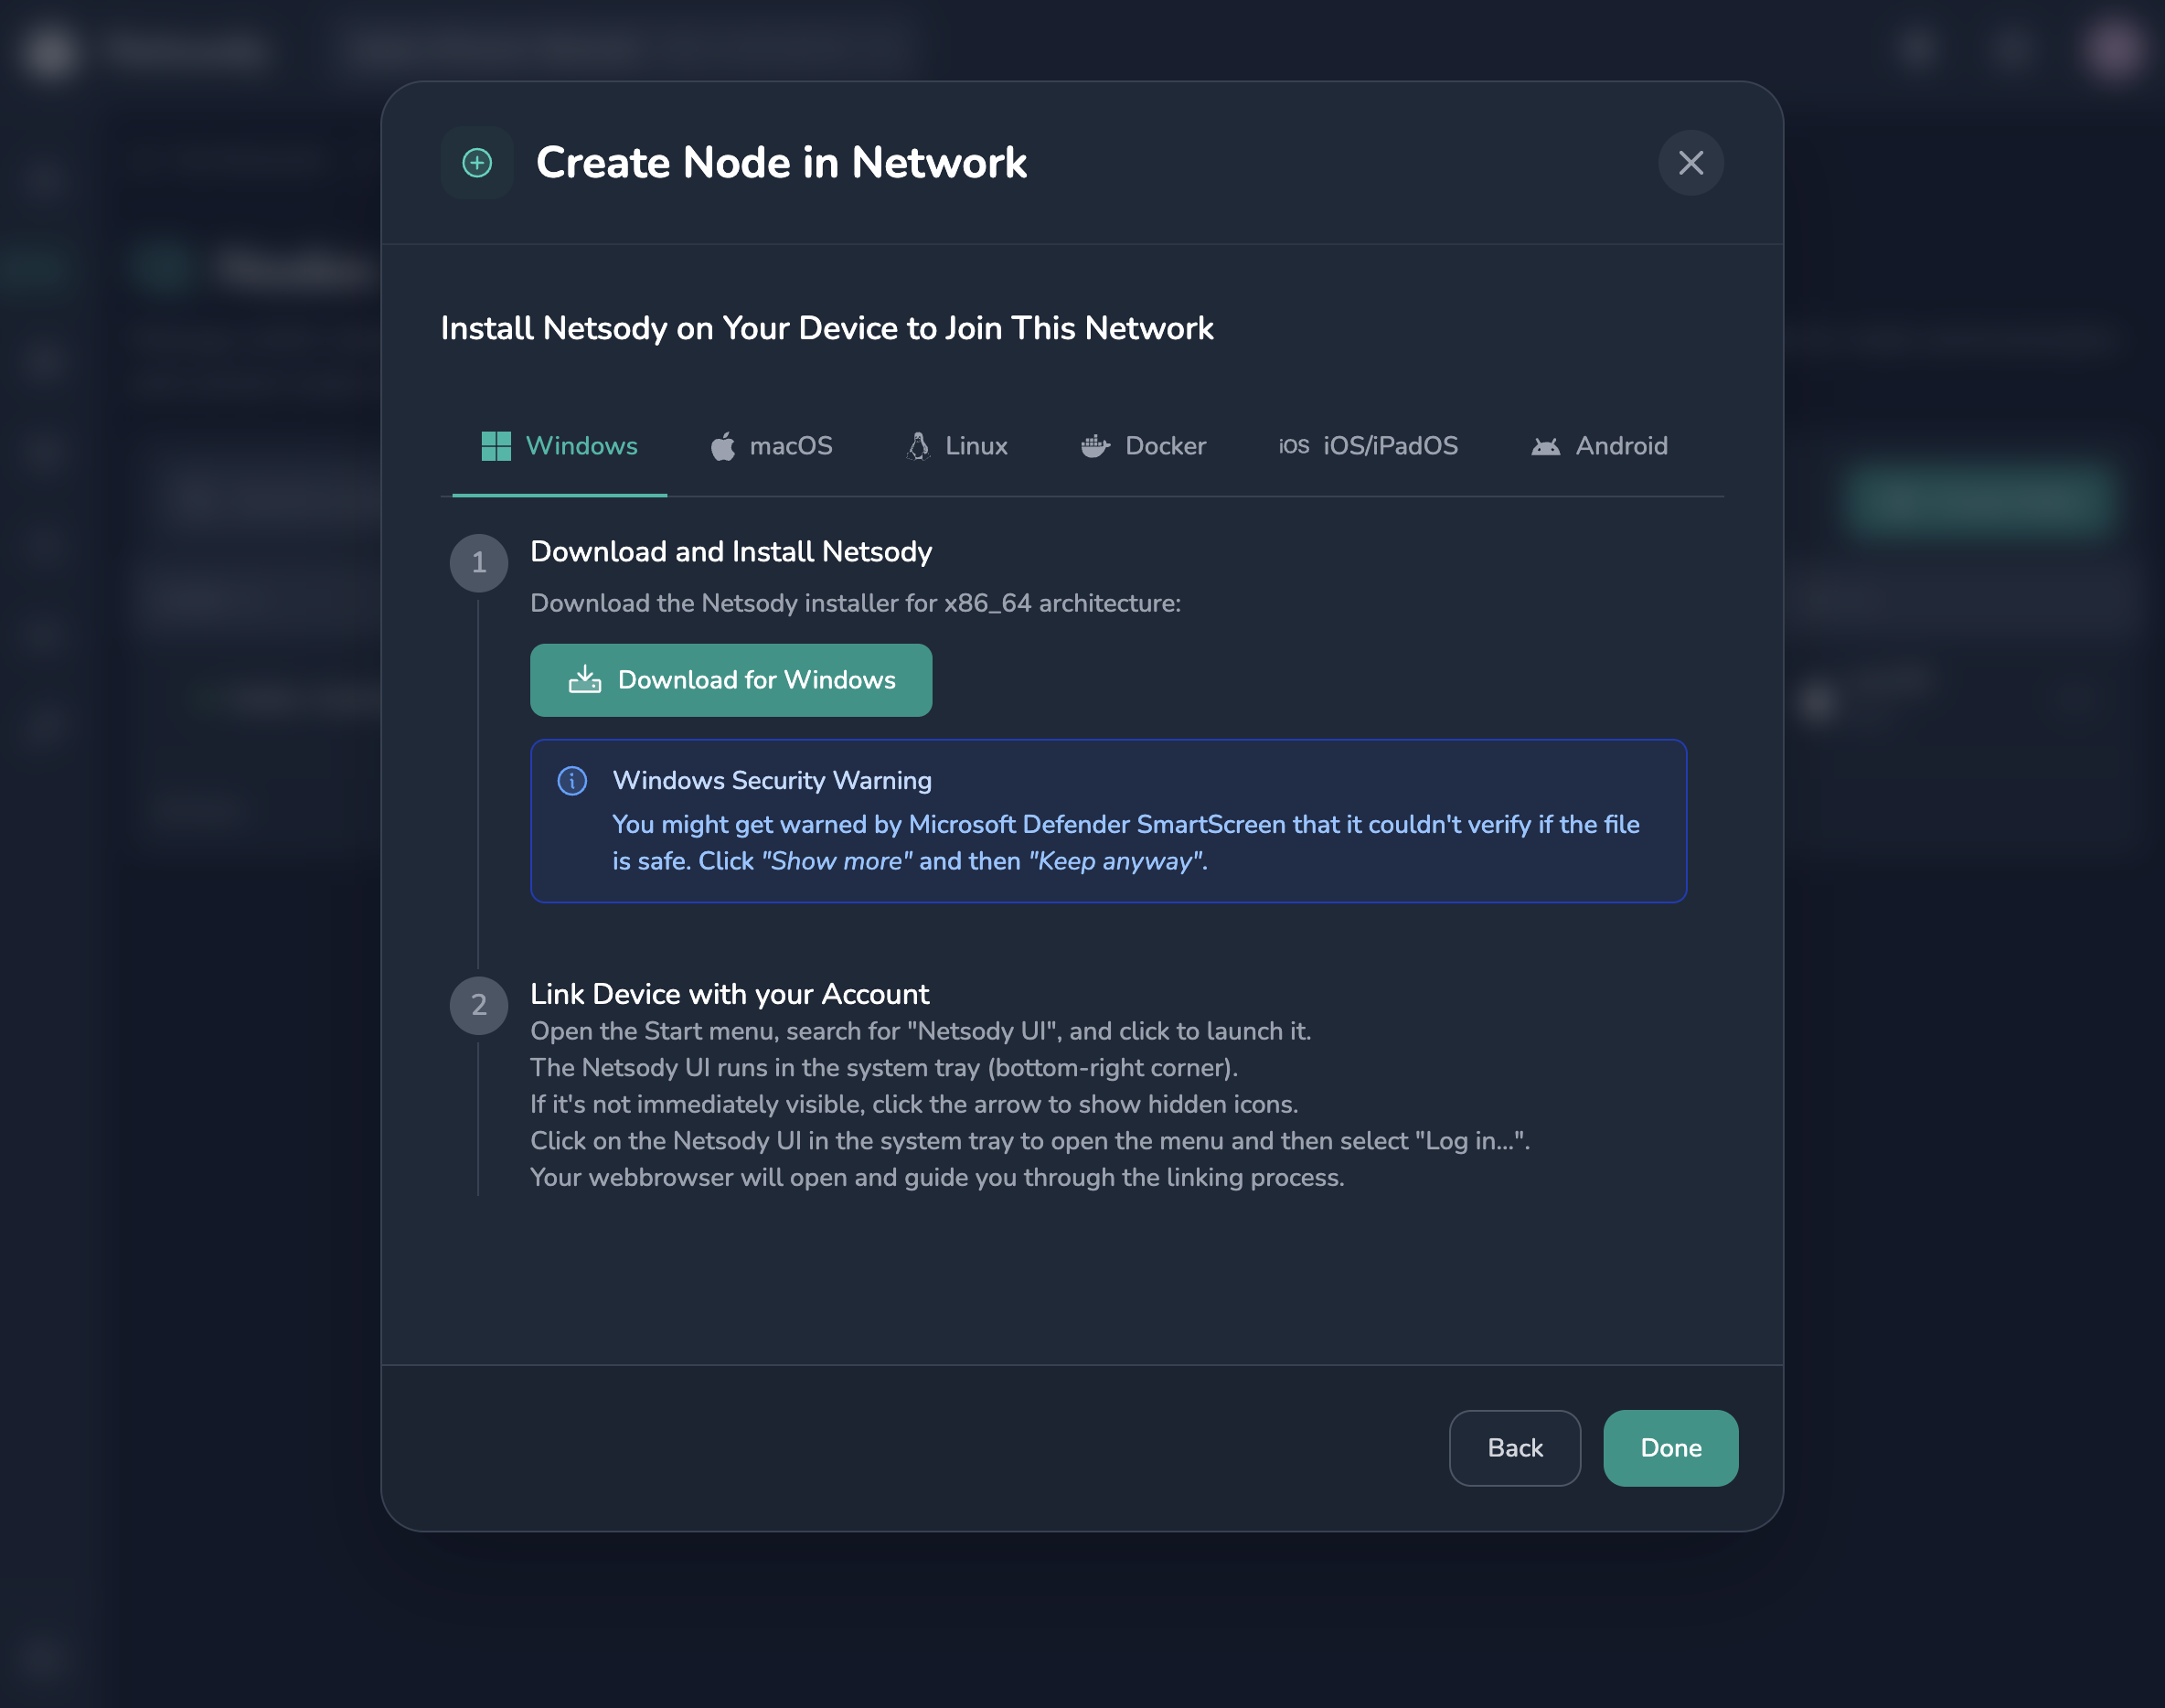
Repeat this for each device you want to add to the network.
Step 5: Verify connectivity
After a device is added to the network, the agent creates a local Netsody network interface and receives its Netsody address.
Once at least two devices are added to the same network, use the Netsody IP addresses and hostnames shown in the Nodes area to reach one device from another.
For example, the screenshots above show heiko-macbook2.netsody.me with the Netsody IP address 10.14.65.102. From your second device, ping that hostname:
second-device:~$ ping heiko-macbook2.netsody.me
PING heiko-macbook2.netsody.me (10.14.65.102): 56 data bytes
64 bytes from 10.14.65.102: icmp_seq=0 ttl=64 time=1.2 ms
64 bytes from 10.14.65.102: icmp_seq=1 ttl=64 time=1.1 ms
64 bytes from 10.14.65.102: icmp_seq=2 ttl=64 time=1.3 ms
64 bytes from 10.14.65.102: icmp_seq=3 ttl=64 time=1.1 ms
^C
--- heiko-macbook2.netsody.me ping statistics ---
4 packets transmitted, 4 packets received, 0.0% packet loss
round-trip min/avg/max/stddev = 1.1/1.2/1.3/0.1 ms
If connectivity does not work, check:
- Both devices are paired with the expected Netsody account.
- Both devices were added to the same network.
- The devices use non-overlapping local and Netsody subnets.
- A policy allows communication between the devices.
Your first Netsody network is now running.
Continue with Manage to learn how to manage networks, nodes, users, policies, and resources.