Installing Netsody on macOS
This guide walks you through installing Netsody on macOS. Netsody consists of two main components:
- Netsody agent: runs as a background service
- Netsody UI: menu bar application to manage the agent
Installation Methods
We provide two installation methods:
- macOS Package Installer (.pkg) (Recommended)
- Homebrew
Method 1: macOS Package Installer (Recommended)
The simplest way to install Netsody is via the provided .pkg installer, which sets up both the agent and UI automatically.
Step 1: Download the Installer
Choose the appropriate installer for your Mac:
- Apple Silicon
- Intel
Click the following link to download the Apple Silicon installer: 📦 netsody_0.1.0_macos_arm64.pkg
Click the following link to download the Intel installer: 📦 netsody_0.1.0_macos_x86_64.pkg
If macOS warns you that the file can't be verified, open System Settings > Privacy & Security, scroll down, and click "Open Anyway".
Step 2: Run the Installer
- Open the
.pkgfile from your Downloads folder or browser. - macOS will ask you to confirm that you want to install the software. Click "Allow".
- Follow the steps in the installation wizard.
- After completion, the agent starts automatically as a background service.
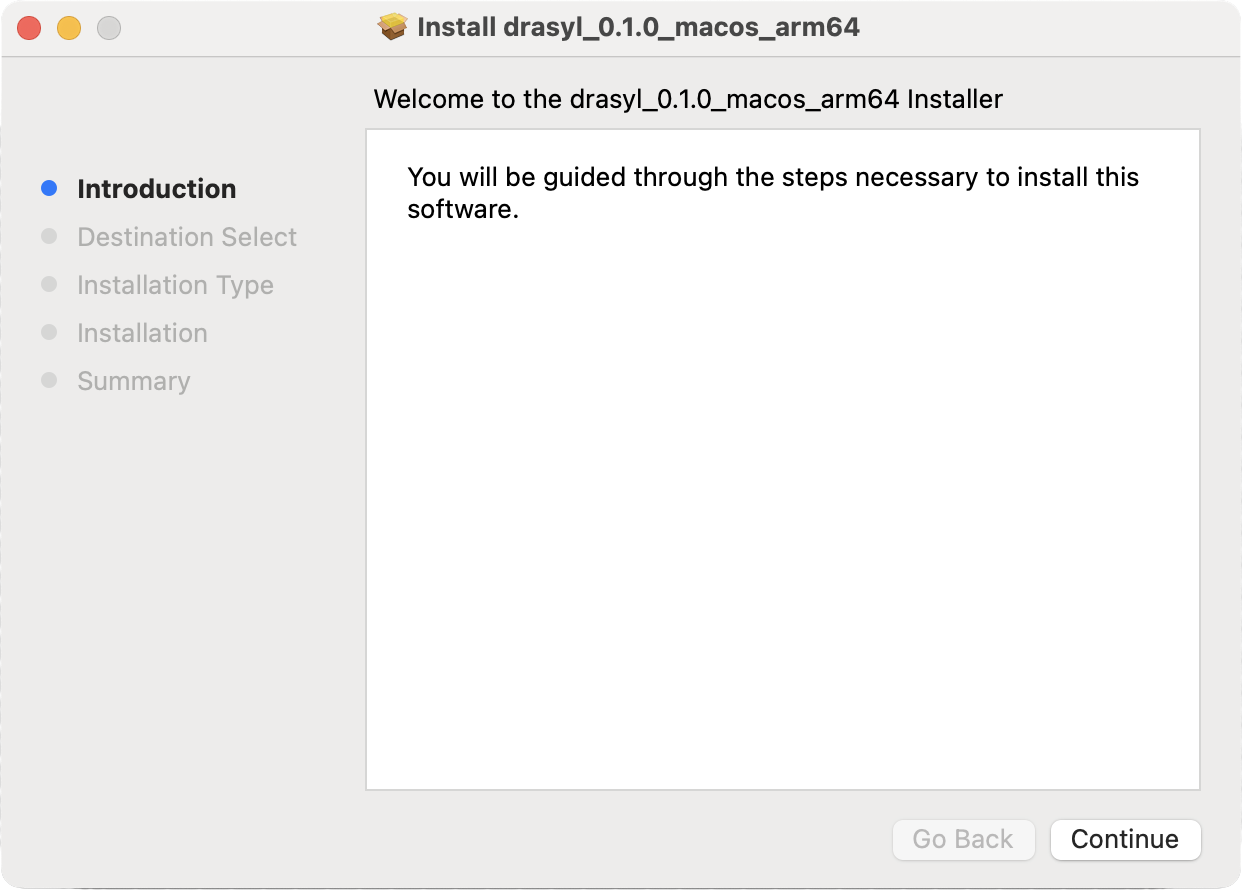
Figure 1: macOS installer welcome screen
Step 3: Start the Netsody UI
- Open Spotlight (
Cmd + Space), search for "Netsody UI", and launch it. - The UI will appear as an icon in your menu bar (top-right corner).
- If you don’t see it, check the overflow area of the menu bar.
On first startup, the UI may take a few seconds to connect to the agent while it completes the proof-of-work process to generate your device identity.
Once connected, the Netsody UI displays the public key of your device.
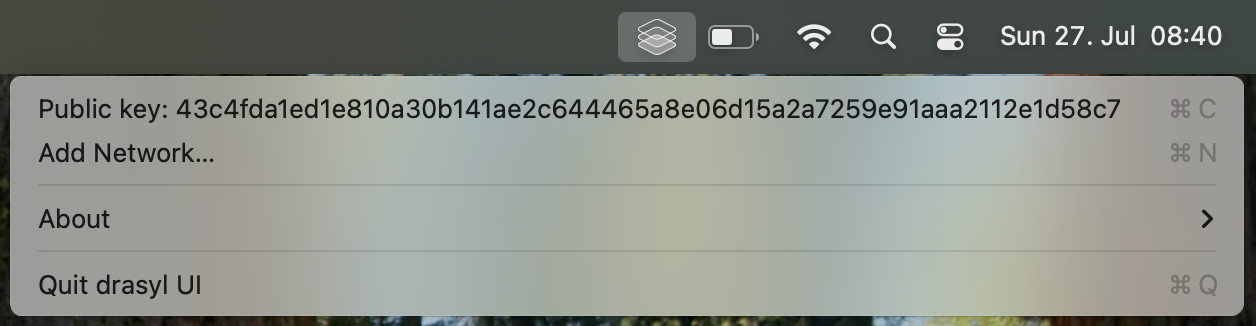
Figure 2: macOS menu bar showing the Netsody UI application
You can copy your public key by clicking on it in the Netsody UI.
Alternatively, run netsody status in your terminal to display it.
Method 2: Homebrew Installation
If you prefer managing software via Homebrew, you can install Netsody from the terminal.
Step 1: Install the Netsody Agent
brew install netsody/tap/netsody
Copy the authentication token:
An API auth token has been created at:
  /opt/homebrew/etc/netsody/auth.token

To use netsody you must copy it into your home directory:
  mkdir -p ~/.netsody
  cp /opt/homebrew/etc/netsody/auth.token ~/.netsody/auth.token
  chmod 600 ~/.netsody/auth.token
Start the agent:
sudo brew services start netsody/tap/netsody
This ensures that the Netsody agent starts automatically with macOS.
Step 2: Install and start the UI
brew install --no-quarantine netsody/tap/netsody-ui
- Open Spotlight (
Cmd + Space), search for "Netsody UI", and launch it. - The UI will appear as an icon in your menu bar (top-right corner).
- If you don’t see it, check the overflow area of the menu bar.
On first startup, the UI may take a few seconds to connect to the agent while it completes the proof-of-work process to generate your device identity.
Once connected, the Netsody UI displays the public key of your device.
Figure 2: macOS menu bar showing the Netsody UI application
You can copy your public key by clicking on it in the Netsody UI.
Alternatively, run netsody status in your terminal to display it.
Auto-Start on Login
To have Netsody UI automatically launch when your Mac starts, run the following command in your terminal:
osascript -e 'tell application "System Events" to make login item with properties {path:"/Applications/Netsody UI.app"}'
Next Step
- ✅ Netsody is now installed.
- 👉 Proceed to set up your first network to start connecting devices.